
Electrostatic Machines: Electrostatics
Van de Graff Generator
PIRA Class: 5A50.30
Electrostatic Machines: Electrostatics
Van de Graff Generator
PIRA Class: 5A50.30
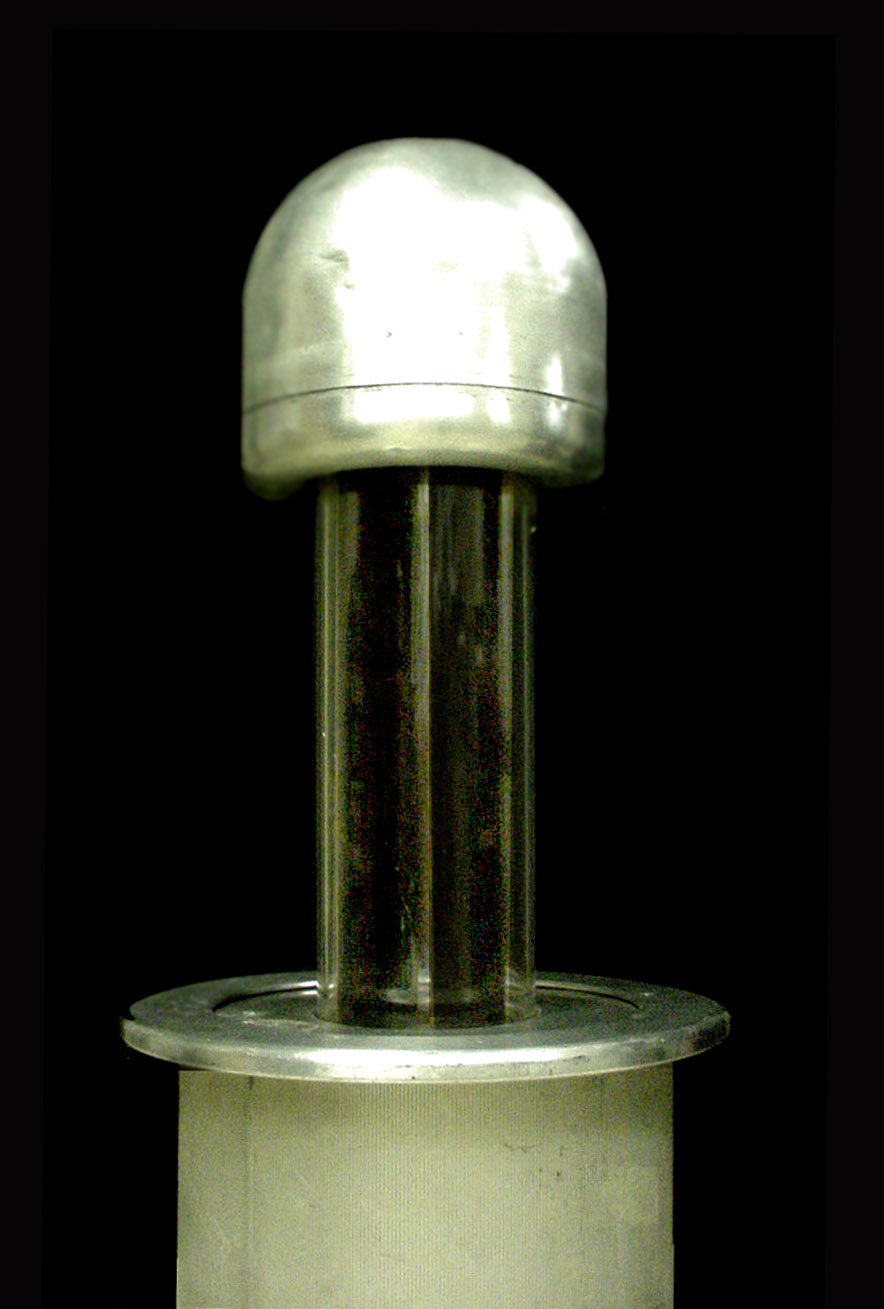 Purpose
Produce (separate) large amounts of electric charge.
Description
Show the electric discharge from Van de Graff generator to a nearby grounded rod.
Beforehand:
-On the day before / week prior to your classroom demonstration, make sure Van de Graff
control box is plugged in and heater is turned on. This will reduce moisture within the
Van de Graff.
-Check the base's desiccant stores. If desiccant is pink instead of blue, it needs to be
replaced (or dried out in a 400 oven for 12 hours.)
- If during trial run no discharge is produced (and all connections, etc. are in order),
securely attach a grounding lead from dome to base (with duct tape) and run belt motor for
~30 minutes. No HV (High Voltage)! This will help remove excess humidity from inside dome.
1. Locate Van de Graff in classroom 5 feet away from any student/ student desk/
classroom electronics/ etc.
2. Make sure grounding rod and control box connections with Van de Graff base are secure.
3. While holding grounding rod pole in one hand, flip on belt motor at control box with
the other.
4. Flip on HV (high voltage) at control box. Bring grounding rod close to dome to observe
discharge.
5. To turn off Van de Graff, turn off High Voltage first and then the belt motor. Once
belt is no longer moving, touch grounding rod to dome one last time to insure that dome is
completely discharged.
NOTE:
- Depending on the day's humidity, discharge will be small or large.
- Internal belt and brushes remove electrons from Van de Graff dome, leaving dome
positively charged. When brought in close contact, grounding rod replaces these negative
charges; belt immediately strips them off again.
- Dome's potential will reach ~20,000V with respect to grounding rod.
Equipment
Van de Graff generator, control box and grounding rod